In the late 1800s, Victorian gardeners used heated frames and window benches to coax exotic plants from tiny seeds — an early version of the indoor seed-starting techniques hobbyists still use today.
Many gardeners want earlier, healthier starts but get stuck at the decision point: which method will actually give reliable seedlings without wasting time or money? The right approach reduces transplant shock, speeds harvests, and often improves overall yield.
Starting seeds indoors is a low-cost way to extend the season, and when done with the right method it consistently produces stronger plants. Start most warm-season crops 4–8 weeks before your last frost for the best timing.
If you’re weighing different ways to start seeds indoors, you’ll find eight practical methods here, grouped into three categories: simple setups, modest equipment and tech upgrades, and timing and transplant technique. Each option explains when it’s ideal, what to buy or DIY, and the numbers that matter.
Simple, Low-Cost Setups for Starting Seeds Indoors
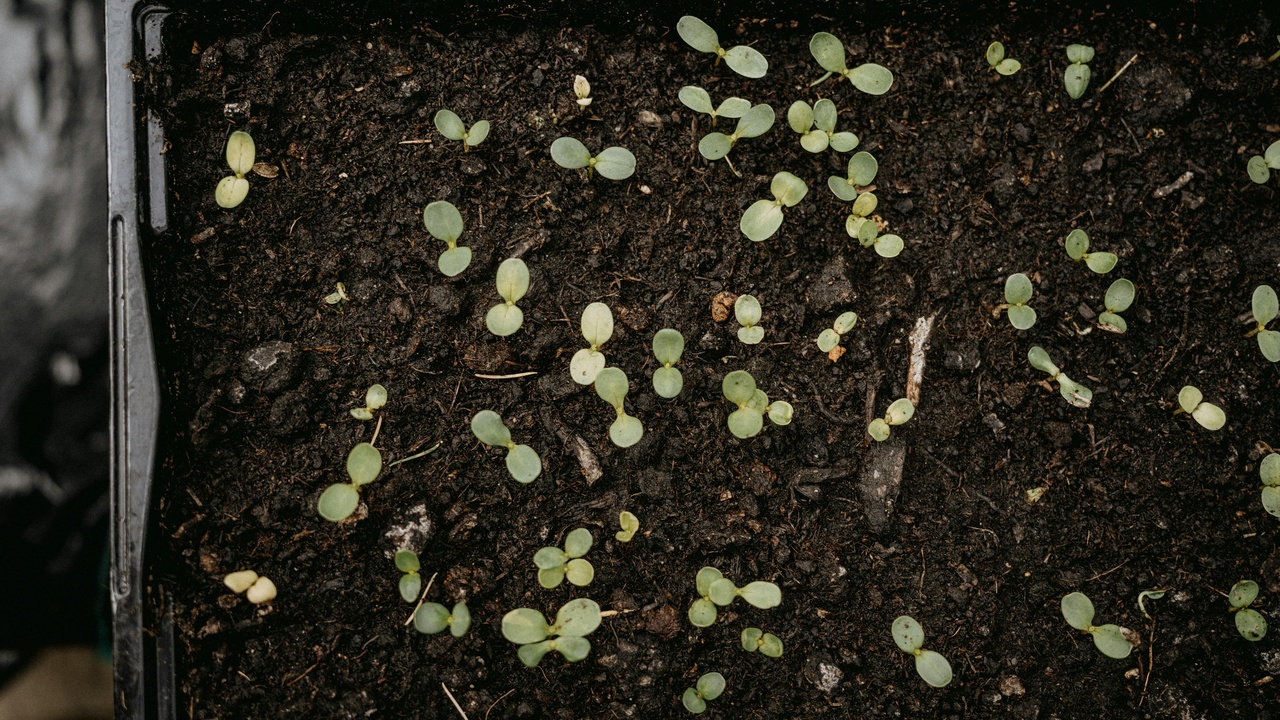
1. Seed Trays and Cell Packs
Seed trays and cell packs are the most common, reliable way to start many vegetables and flowers because they give each seed its own space to develop roots. Trays come in many sizes, with common counts from about 50 up to 128 cells; a 72-cell tray is a versatile mid-size choice for herbs and salad greens.
Smaller cells (72–128) suit tiny seeds like lettuce and basil, while 32–50 cell trays work better for larger transplants such as tomatoes and peppers. Use a sterile, fine-textured seed-starting mix to reduce damping-off and ensure good moisture contact. Buy inexpensive black plastic trays from Burpee or local nurseries, or choose biodegradable pots if you prefer not to disturb roots at transplant.
Watch drainage closely—poke holes in recycled containers if needed—and label every row with sow dates so you can track which varieties germinate fastest.
2. Peat Pellets and Soil Blocks
Peat pellets and soil blocks offer tidy, transplant-friendly plugs that minimize root disturbance. A standard compressed peat or coir pellet expands to about 1.5 inches in diameter when soaked, giving a compact root ball that’s easy to move into larger pots or the garden.
Gardeners and classrooms like Jiffy peat pellets for their cleanliness, and coir-based pellets serve as peat-free alternatives. Market growers often use DIY soil block makers to create denser, transplant-ready cubes without plastic pots. Note the trade-off: peat has environmental drawbacks, while coir needs reliable rinsing to avoid salt buildup.
For timing, many gardeners sow warm-season crops in pellets about 4–8 weeks before transplant; the plug size keeps roots intact and reduces shock when planting out.
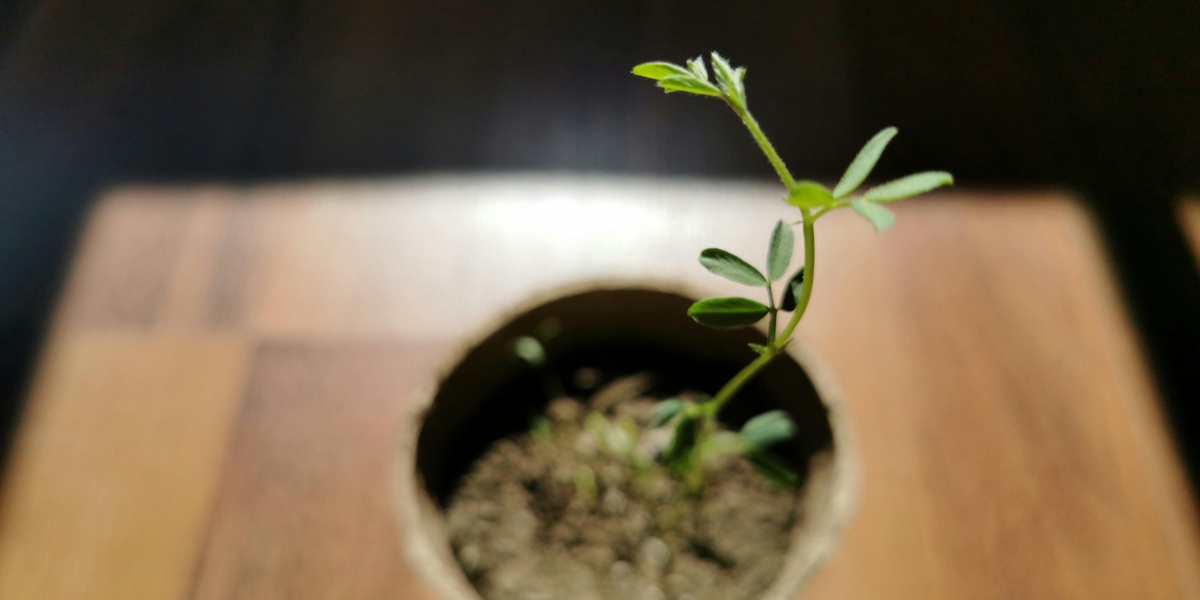
3. Windowsill Starts and Makeshift Heat Sources
A sunny windowsill is an economical place to raise a handful of seedlings using improvised containers. South- or east-facing windows provide the best light; set trays 2–3 inches from the glass and rotate them daily to prevent leaning.
Use reused yogurt pots, deli cups with drainage holes, or egg cartons for tiny seedlings, and start basil roughly 6 weeks before last frost. Without supplemental light, seedlings often get leggy, so plan to move them under a lamp if stems stretch. Makeshift warm zones—like the top of a refrigerator or an insulated box with a heat source—can add a few degrees, but watch for hot spots and excess humidity.
Windowsill setups are best for small-scale starting; they cost almost nothing and teach the basics of watering, labeling, and timing before you invest in gear.
Equipment and Technology for More Reliable Germination
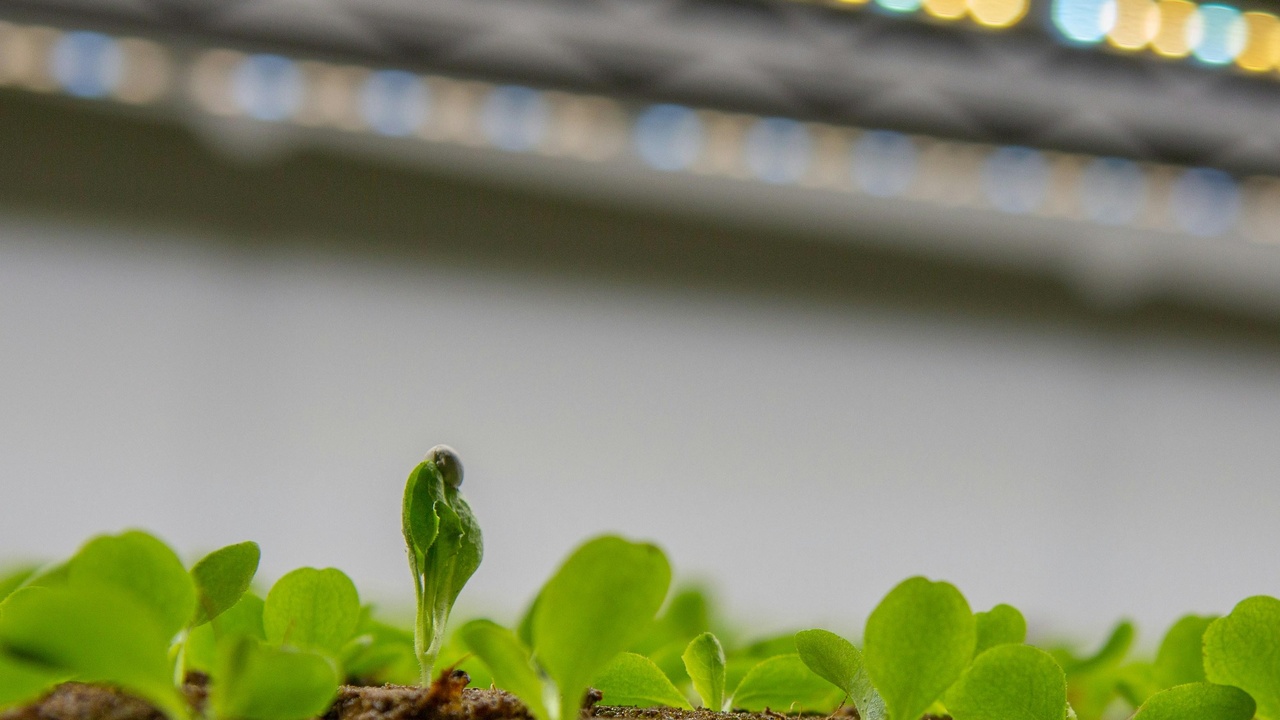
4. LED Grow Lights — 12–16 Hours for Sturdy Seedlings
LED grow lights are the most efficient way to provide consistent, high-quality light indoors; running lights 12–16 hours a day gives sturdy stems and fast leaf development. For low-power LED bars, keep the fixture 2–6 inches above seedlings; larger panels belong 12–24 inches away depending on output.
Seedlings under proper LEDs show shorter internodes and fuller leaves compared with windowsill-only plants. Affordable LED bars cost about $30–$80, while higher-end panels run $120–$350. Brands like Spider Farmer and Viparspectra make reliable midrange fixtures, and many growers build DIY shop-light rigs to save money.
Match spectrum and intensity to seedlings and keep a timer to automate the light schedule—consistent daily hours matter more than cranking output for a few days.
5. Heat Mats and Thermostats to Speed Germination
Bottom heat speeds germination for many warm-season crops by raising soil temperature 5–10°F over ambient. Target soil temps vary by crop: peppers often like 75–85°F, while tomatoes germinate well at about 70–80°F.
Plug a Hydrofarm heat mat into an Inkbird thermostat to maintain steady warmth and avoid overheating after seeds sprout. Mats cost roughly $20–$60, and thermostats add about $30–$80. Faster germination and more uniform sprouting are the main benefits, but warm, wet conditions can also favor mold—so combine mats with good airflow and sterile mix.
Turn mats off once most seedlings emerge or drop the setpoint, and always monitor moisture because heat increases evaporation.
6. Mini Greenhouses and Humidity Domes
Humid domes and small greenhouse trays simplify moisture management by trapping humidity and reducing daily watering. During germination, many seeds do best with relative humidity around 70–90%, and a clear dome quickly creates that microclimate.
Clear domes that fit 10×20 trays are common and inexpensive, while tabletop greenhouse units can hold two to four trays for apartment growers. These tools cut labor, but you must vent or remove domes as soon as cotyledons open—typically within a few days—to prevent damping-off. A small oscillating fan and periodic venting keep air moving and lower disease risk.
Use domes for seeds that need constant moisture or for large batches, and plan to open vents gradually once seedlings show true leaves.
Timing, Soil Mixes, and Transplant Techniques
7. Use the Right Seed-Starting Mix and Sow at the Correct Depth
Sterile, well-draining seed-starting mix reduces disease and gives seeds consistent moisture contact. A reliable homemade ratio is 1 part coir (or peat substitute) to 1 part perlite or vermiculite; commercial seed-starting mixes work well too and save time.
Follow the 2× seed diameter rule for sowing depth: tiny seeds like lettuce stay on the surface, medium seeds such as tomato go about 1/8–1/4 inch deep, and large seeds like beans or peas are roughly 1 inch deep. Tomatoes, for example, are typically sown about 1/4 inch deep so they have energy to emerge but still access oxygen.
Label trays with sow dates and germination expectations—this practical record-keeping helps you spot slow rows and adjust timing for future seasons.
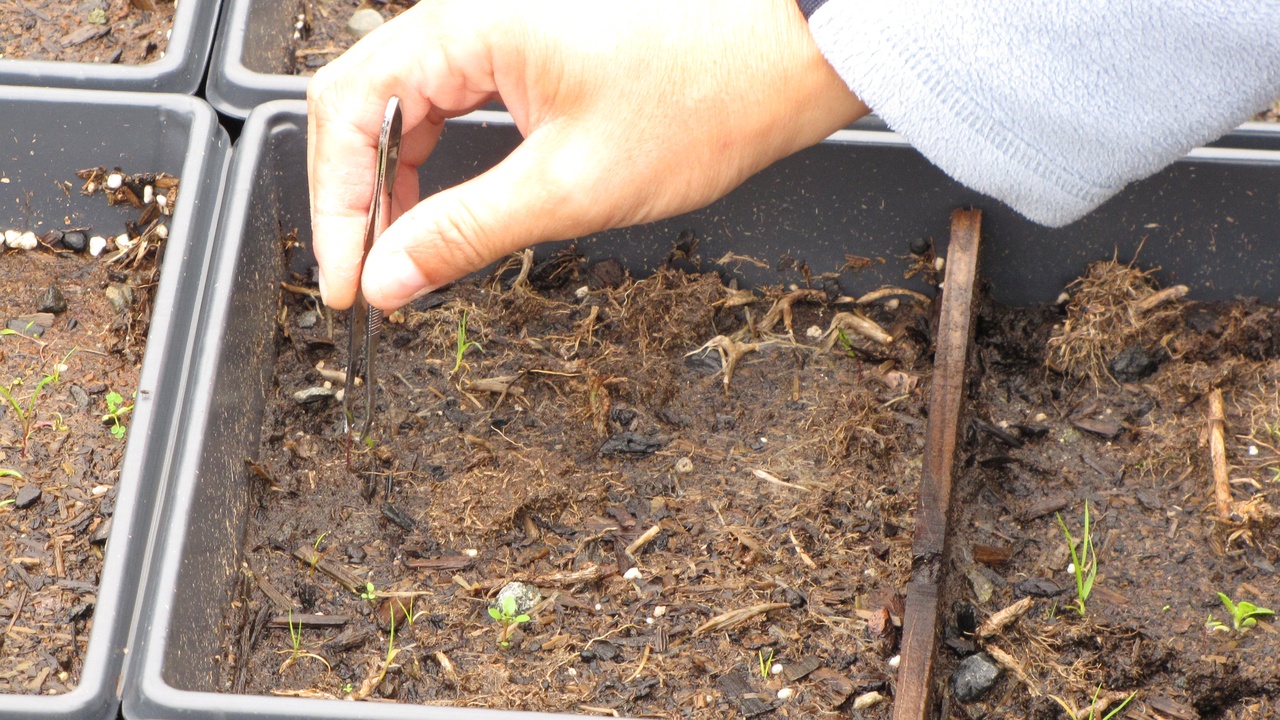
8. Hardening Off and Timing Transplants
Hardening off acclimates seedlings to sun, wind, and cooler nights and is critical to transplant success. Use a 7–10 day schedule: start with 1–2 hours in sheltered shade, then add 1–2 hours of exposure each day while increasing light and airflow.
Transplant when seedlings have 2–4 true leaves and when soil and air temps are appropriate—for many tomatoes that’s 6–8 weeks after starting indoors and about 1–2 weeks after last frost if properly hardened. Water seedlings well before moving them and consider cloches or row cover for the first week if temperatures might dip.
Keep a simple sowing log (seed variety, date sown, germination days, transplant date) so you refine your schedule season to season.
Summary
- Try one of the ways to start seeds indoors this season—simple trays on a sunny windowsill or modest gear like LEDs and a heat mat both work well depending on scale and goals.
- Aim for 12–16 hours of light for seedlings and target soil temps of roughly 70–85°F for warm-season crops; peppers often prefer 75–85°F while tomatoes do well at 70–80°F.
- Use a sterile, fine-textured mix (1 part coir or peat substitute : 1 part perlite) and sow at about 2× the seed diameter; harden off for 7–10 days before planting out.
- Keep records: label trays with sow dates and germination notes, and experiment with one new method each year to learn what fits your space and climate.