In 1957 a group of foragers in the Scottish Highlands mistook a cluster of poisonous Cortinarius species for edible chanterelles, triggering a public health advisory that changed regional foraging practices. Mistakes like that show how visual similarity, local habit, and changing mushroom seasons can turn a pleasant harvest into a medical emergency. In the United States, poison control centers record roughly 6,000–8,000 mushroom exposure calls each year, with several hundred needing hospital care. Knowing a handful of reliable identification methods — and when to consult an expert — drastically reduces the risk of poisoning. This guide outlines eight practical ways to identify mushrooms safely, from field cues and spore prints to chemical tests, apps, community ID nights, and laboratory confirmation.
Visual and Field Characteristics

Field-based visual cues are the first line of identification: cap shape and texture, the underside (gills, pores, or spines), stem details, veil remnants, and where and when the mushroom appeared. These observations narrow candidates quickly, but they do not guarantee safety—careful notes and photos are essential.
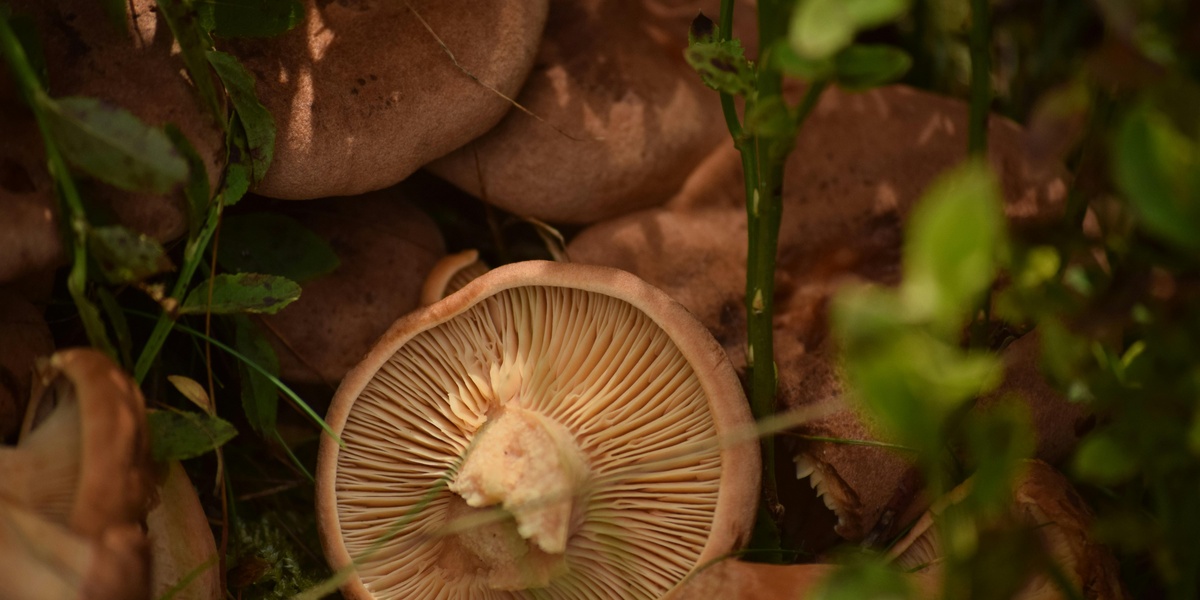
1. Observe cap, gills, and pore structures
Examining the cap and the structure beneath it lets you separate major groups at a glance. Gill attachment (adnate, adnexed, decurrent) and cap margin shape are standard field-guide traits used worldwide. More than half of common edible woodland species show decurrent gills or ridged undersides, which helps eliminate many agarics with free gills.
Look for pores (boletes) versus true gills (agarics) versus teeth or ridges (cantharelloids). These features change with age: young specimens may have folded or hidden gills, while older caps can be faded or eroded. Photograph caps from above and capture the underside at multiple angles to document attachment and aging.
Example: a bolete will show a porous, sponge-like underside, while an agaric displays distinct gills. Chanterelles have blunt, forked ridges (false gills) rather than the thin, blade-like true gills of the Jack‑o’‑lantern (a lookalike), so checking the ridge structure prevents a common error.
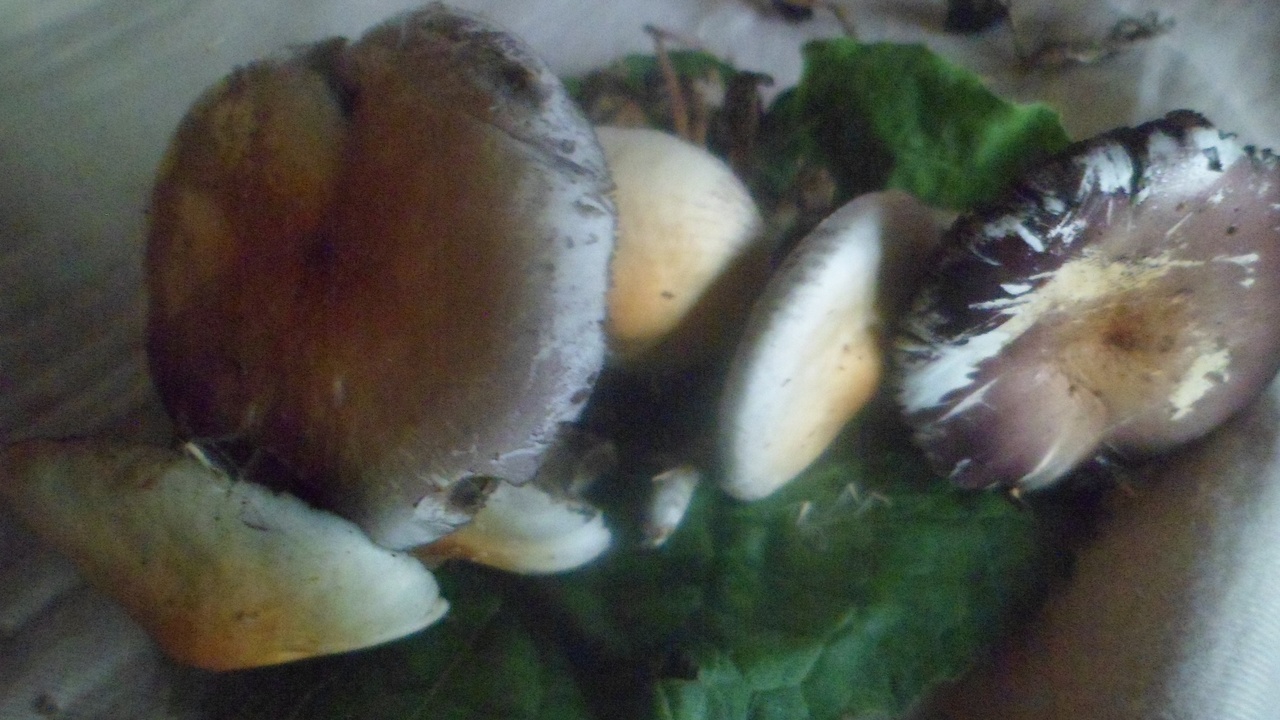
2. Note stem features: rings, volvas, and bulbs
Stem structures often separate dangerous genera from edible ones. A ring (annulus), a cup-like volva at the base, a pronounced basal bulb, or remnants of a cortina are high‑value clues. Amanita includes roughly 600 species worldwide, and several deadly ones share a volva plus white gills—so checking the base is critical.
To inspect the base, dig gently with a knife rather than pulling the mushroom out and shredding the volva. Use gloves if you suspect a toxic species. Losing the basal tissue can remove the single feature that would have identified a lethal lookalike.
Example: Amanita phalloides (death cap) often shows a sac-like volva and white gills; removing it carelessly destroys that diagnostic evidence. Treat incomplete specimens with caution and prioritize intact samples for expert review.
3. Record habitat and seasonality
Many species are tightly linked to particular trees, soil types, or seasons. Noting substrate—under oak leaf litter, on decaying conifer log, or in grassy lawn—will eliminate many candidates rapidly. Mycorrhizal fungi often associate with a single tree genus, which is one of the most reliable ecological clues.
Seasonality narrows options. Morels commonly appear in spring under elm and ash; chanterelles fruit in temperate zones from about June through October; porcini (Boletus edulis and allies) tend to show under pines and spruces in late summer. Record GPS coordinates, dominant tree species, and exact substrate in a notebook or smartphone.
Simple Field Tests and Tools
Low-tech tests and a few portable tools turn careful observation into stronger identifications. Spore prints, bruising checks, a 10× hand lens, and vetted apps help confirm or rule out candidates. Some chemical spot tests are useful but are best used only by those trained in their interpretation.
4. Make a spore print
Spore-print color is an objective trait that rules in or out entire genera. To collect one: place the cap gills-down on white or half-white/half-black paper, cover with a bowl to reduce airflow, and leave 6–24 hours. Check both color and deposit pattern.
Common spore colors include white, cream, pink, brown, purple-brown, and black. Amanita species yield white prints; Agaricus (including the common button mushroom) has chocolate-brown prints. Use a half-black/half-white card to capture both light and dark prints. If you are allergic, avoid prolonged handling of dried spores.
5. Check for bruising and chemical reactions
Some mushrooms change color when bruised or when exposed to reagents; that reaction can be diagnostic. Press or nick flesh and watch for a color shift—many boletes bruise blue within 30–60 seconds, which is a rapid field clue. Record the timing and direction of the change.
Experienced foragers sometimes use simple reagents such as a 3–10% KOH solution or iron salts to test cap or pore reactions; these tests require training and careful labeling. Never taste-test unknown species, and wear gloves when handling reagents or suspected toxic taxa.
6. Use simple tools: hand lens, scale, and apps
A 10× hand lens, a small digital scale, and a reliable field guide or mobile app increase accuracy. A lens can reveal spore ornamentation or cystidia shapes; a scale and notes on odor and texture add corroborating data. These are among the most useful ways to identify mushrooms safely in the field.
Use reputable platforms to crowdsource and document ID attempts: iNaturalist and Mushroom Observer are widely used. They provide community suggestions and occurrence records but do not replace expert confirmation.
Expert Resources and Laboratory Methods
Field work has limits. When a specimen has potentially lethal lookalikes, or when you need confirmation for a rare edible, consult local mycologists or send specimens for microscopic or DNA analysis. If you cannot identify confidently, do not eat the mushroom.
7. Consult local experts and mycological societies
Expert review is the single best safety net. Find local mycology clubs, extension services, or university labs; many run weekly or monthly specimen‑ID nights and may examine dozens of samples per session. The North American Mycological Association (NAMA) and regional chapters are good starting points in the U.S.
Prepare specimens carefully: include multiple whole, intact examples (young and mature), keep them cool, and bring habitat notes and photos. Avoid delivering decayed samples. Respect etiquette—give precise location data, note substrate and tree partners, and ask whether microscopic work will be performed.
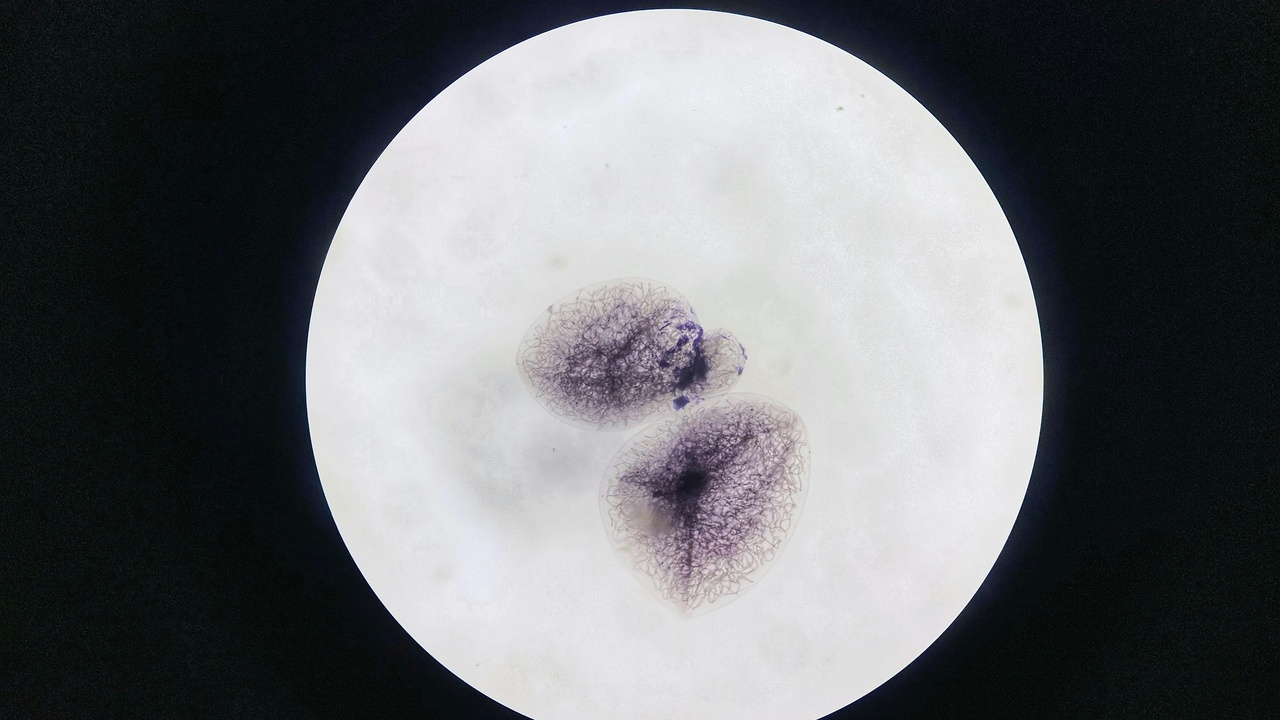
8. Use microscopy and DNA when necessary
Microscopy and DNA barcoding resolve species that field traits cannot. Microscopy (400×–1000× magnification) shows spore size and ornamentation and the presence or absence of diagnostic cystidia; spore measurements such as 7–10 µm often separate close relatives.
DNA barcoding targeting the ITS region is the molecular standard. Turnaround for a lab sequence is typically 1–6 weeks and costs vary—many services charge about $30–$150 per sample depending on throughput. These methods are ideal for research and final confirmation, not routine backyard checks.
Summary
Safe mushrooming depends on layered evidence: careful visual inspection, simple field tests, portable tools, community verification, and laboratory backing when necessary. Prioritize intact specimens, habitat notes, and expert consultation before considering consumption.
These ways to identify mushrooms safely combine quick field checks (cap, gills, stem, and substrate), objective tests (spore prints and bruising), community input (apps and ID nights), and definitive lab work (microscopy and DNA). Practice spore prints, carry a 10× lens, and join a local mycology group to build skill and safety.
- When in doubt, do not eat—visual cues plus an expert ID are the most reliable first steps.
- Document finds: photos, GPS, substrate notes, and spore prints make expert IDs possible.
- Use a 10× hand lens, apps like iNaturalist for records, and attend local ID nights for practice.
- Reserve microscopy and DNA barcoding for unresolved or high-stakes identifications; expect 1–6 weeks and modest costs.